









To deep clean a kitchen, remove clutter, food waste, and dirty dishes first. Dust ceilings, light fixtures, and upper surfaces, then clean cabinets, appliances, countertops, backsplashes, and sinks. Finish by vacuuming and mopping the floor. This top-to-bottom order removes grease, crumbs, and hidden dirt more effectively.
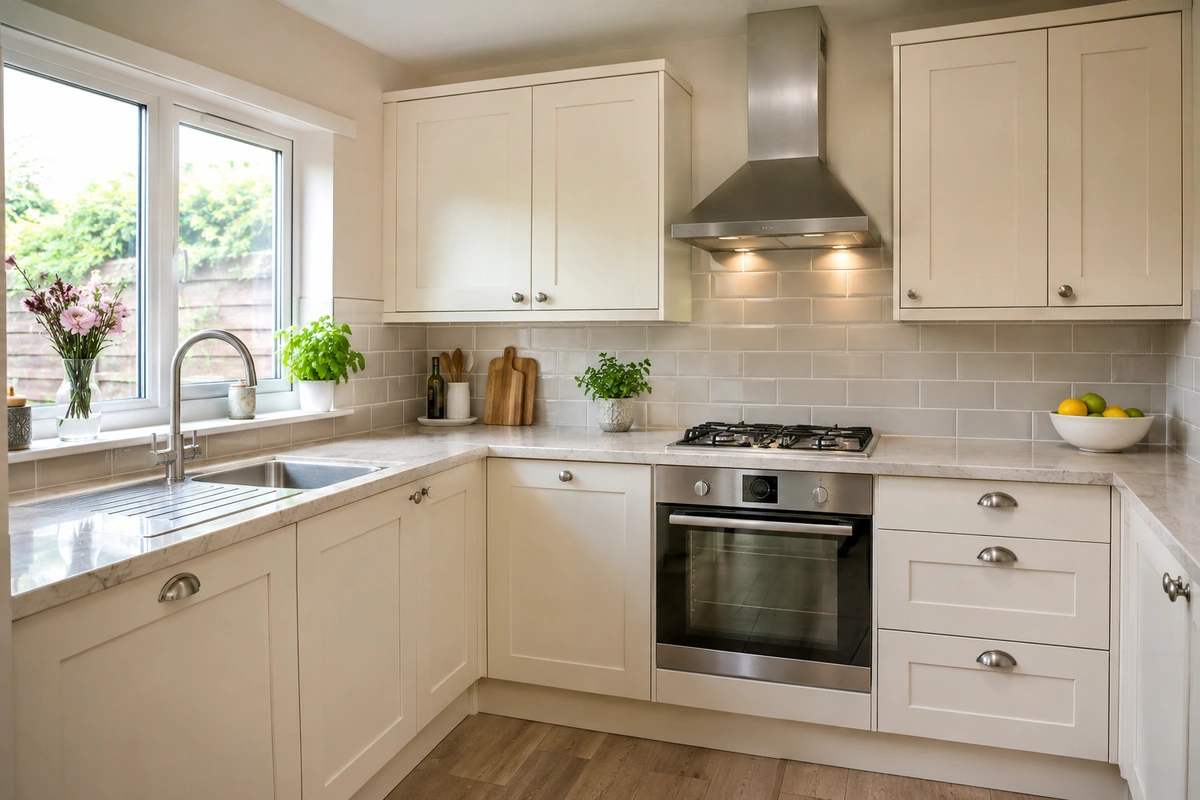
Use microfiber cloths, sponges, a scrub brush, dish soap, gloves, and suitable surface cleaners. Check appliance instructions before cleaning filters, seals, or removable parts. Choose products for each material, keep food-contact areas separate from dirty equipment, and never mix cleaning chemicals. These precautions help protect surfaces and support kitchen hygiene.
Why Is Deep Cleaning Your Kitchen Important?
Deep cleaning removes grease, food residue, dust, and dirt that regular cleaning may leave behind. These materials collect around cabinet handles, appliance seals, filters, drains, and cooking areas. Removing them helps reduce unpleasant odors, supports kitchen hygiene, and keeps food preparation surfaces in better condition.
A clean kitchen also makes it easier to notice maintenance problems. For example, a refrigerator with dirty seals may not close properly, while a blocked dishwasher filter can affect drainage. Deep cleaning gives you an opportunity to inspect these areas, remove buildup, and identify problems before they become harder to manage.
How to Prepare Your Kitchen for Deep Cleaning
Preparation makes kitchen deep cleaning more organized. Before applying cleaning products, clear the work surfaces and remove items that could get wet or contaminated. Gather the supplies you need and check the care instructions for delicate materials, including natural stone, glass cooktops, and stainless steel.
Remove Clutter from Kitchen Countertops
Remove food containers, utensils, small appliances, decorations, and other loose items from the countertops. Put each item in its proper place and discard unnecessary packaging. Clearing the worktops gives you enough space to clean the entire surface, including the edges and corners where crumbs and grease often collect.
Empty the Sink and Dishwasher
Remove dirty dishes, food scraps, and utensils from the sink. Wash or load the dishes before cleaning the basin. If the dishwasher contains clean dishes, put them away. An empty sink and dishwasher make it easier to clean the drain, filter, interior surfaces, and surrounding areas without moving items repeatedly.
Remove Expired Food from Cabinets and Refrigerator
Check food labels, storage dates, and the condition of items inside cabinets and the refrigerator. Discard food that is expired, spoiled, or no longer suitable to keep. Place usable food aside and keep refrigerated items cold while cleaning. This step creates space to clean shelves, drawers, and storage areas properly.
Organize Cleaning Supplies
Gather microfiber cloths, sponges, a soft scrub brush, dish soap, suitable surface cleaners, gloves, a vacuum, and a mop. Keep separate cloths for food-contact surfaces, appliances, and floors. Read product labels before use, and never mix cleaning chemicals. Having the right supplies nearby reduces interruptions during the cleaning process.
How to Deep Clean a Kitchen Step by Step
Follow a top-to-bottom cleaning order to prevent dust and dirt from falling onto areas you have already cleaned. Start with ceilings and upper surfaces, move to cabinets and appliances, and then clean worktops, sinks, and walls. Leave the floor until the end because it collects debris from the other tasks.
1. Remove Dust from Ceilings, Light Fixtures, and Upper Surfaces
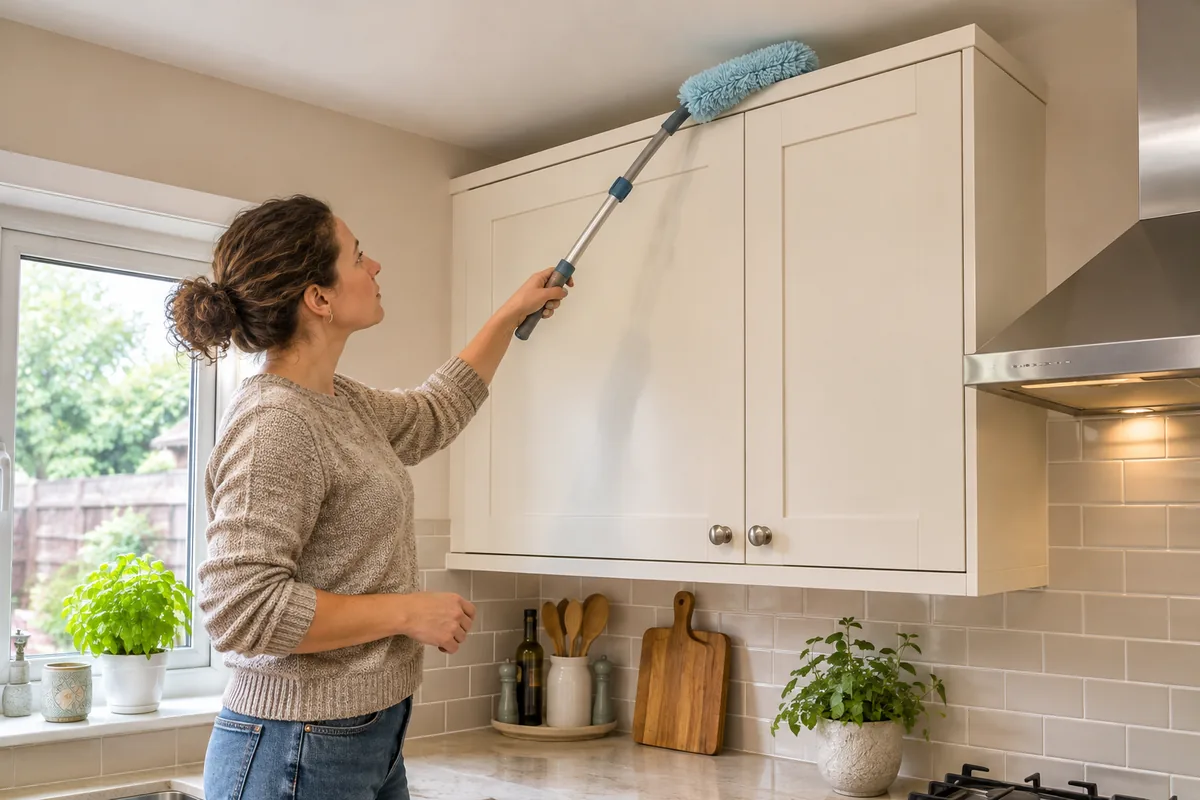
Start by removing dust and cobwebs from ceiling corners, vents, light fixtures, and the tops of cabinets. Use an extendable duster or a clean microfiber cloth. Turn off lights and allow hot bulbs to cool before cleaning nearby surfaces. Avoid spraying liquid directly onto electrical fixtures, switches, or outlets.
Dust can settle on upper cabinets and fall onto countertops during cooking or cleaning. Pay attention to the tops of refrigerators, cupboards, and decorative shelves. If you use a ladder, place it on a stable surface and avoid overreaching. Remove loose dust before using a damp cloth to wipe washable surfaces.
2. Clean Kitchen Cabinets and Drawers
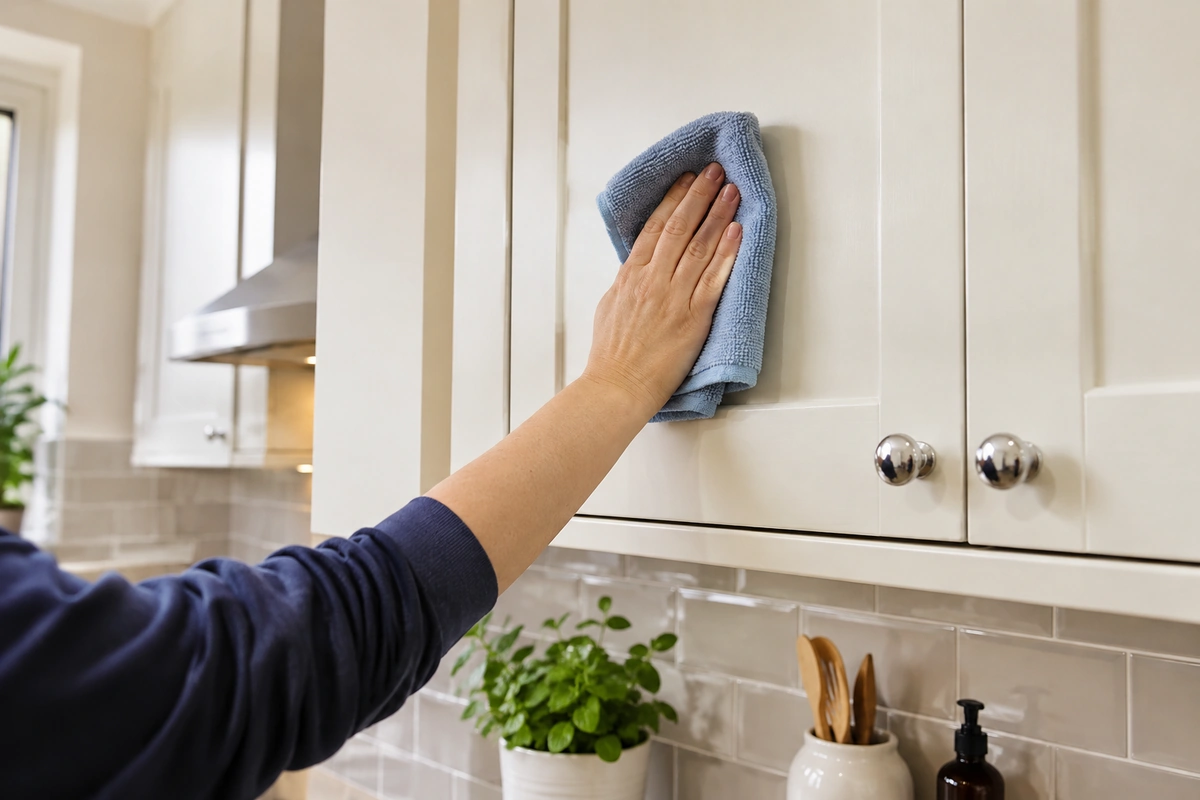
Remove dishes, food containers, and other stored items from the cabinets you plan to clean. Wipe the inside surfaces with a soft cloth and a suitable cleaning solution. Pay attention to shelf corners, drawer edges, and the areas around hinges, where crumbs and dust can collect. Dry the surfaces before returning items.
Kitchen cabinet doors often develop a sticky layer because airborne cooking grease combines with dust. Use warm water and a small amount of mild dish soap on a soft cloth, then wipe away the residue without soaking the material. Clean handles and knobs carefully because people touch them frequently. Check the cabinet manufacturer’s care instructions before using stronger products.
3. Clean the Range Hood and Exhaust Fan
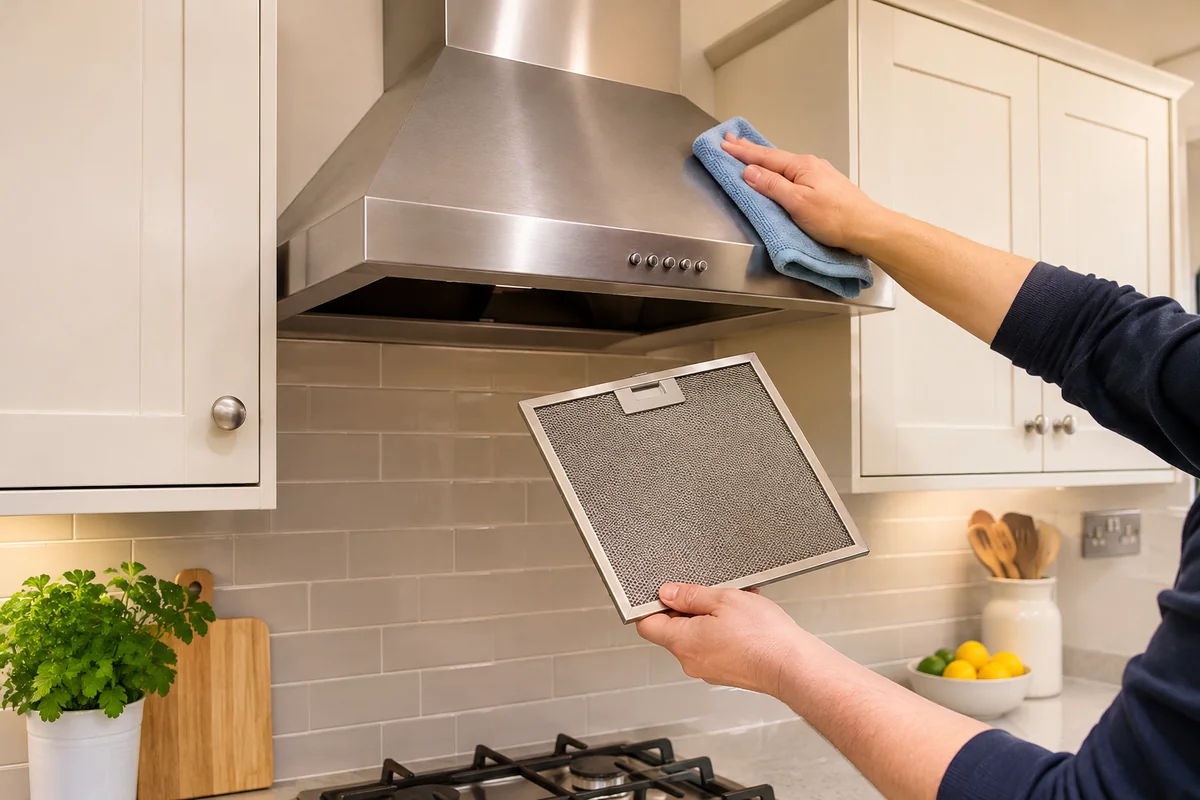
The range hood collects airborne grease, smoke residue, and dust during cooking. Turn off the appliance before cleaning it. Wipe the exterior with a suitable degreasing solution, following the manufacturer’s instructions. Remove washable filters if the manual allows it, then clean them using the recommended method.
A heavily clogged filter may restrict airflow and reduce the hood’s ability to remove cooking fumes. Let the filter dry completely before reinstalling it. Do not immerse electrical components or spray cleaner into the fan motor. If the hood has a replaceable filter, check the manual to find the correct replacement and maintenance schedule.
4. Deep Clean the Refrigerator and Freezer
Remove food from the refrigerator and freezer in manageable sections. Keep perishable food cold while you work, using an insulated cooler if necessary. Take out removable shelves and drawers, then wash them according to the manufacturer’s instructions. Use a soft cloth and a suitable cleaner to remove spills, sticky residue, and food particles from the interior.
Pay special attention to door seals, drawer tracks, and corners where crumbs or moisture can collect. Wipe the seals gently and dry them before closing the door. Clean the exterior handles and doors as well. If the appliance manual permits, carefully remove dust from accessible areas around or beneath the refrigerator. Avoid damaging coils, wiring, or water lines.
5. Deep Clean the Oven
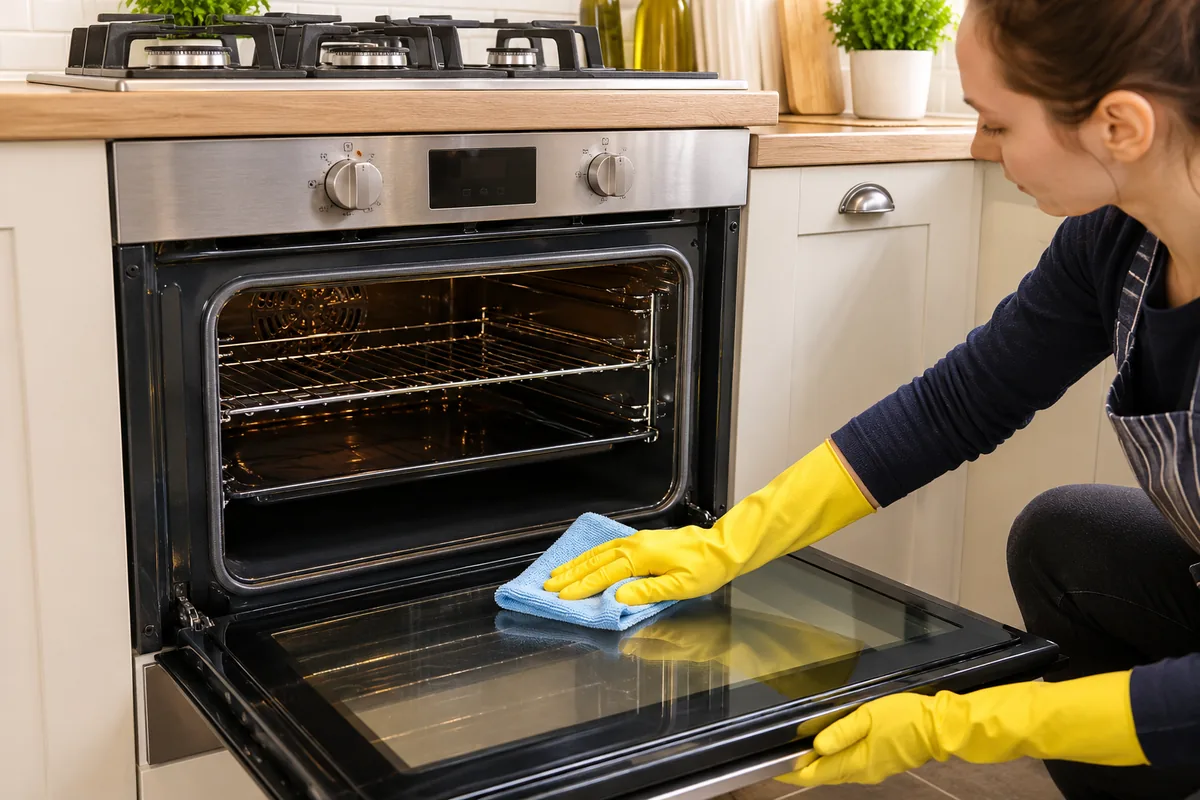
Make sure the oven is switched off and completely cool before cleaning it. Remove the racks and trays, then clean them using a method approved by the manufacturer. Wipe loose crumbs from the oven interior before applying a suitable oven cleaner. Follow the product instructions, including any required waiting time and ventilation guidance.
Remove softened grease and burnt-on food with a non-abrasive tool that is safe for your oven’s interior. Clean the oven door and glass with an approved product, avoiding damage to seals or heating components. Do not use chemical oven cleaners on self-cleaning surfaces unless the manufacturer specifically permits them. Reinstall dry racks after cleaning.
6. Clean the Kitchen Stove and Cooktop
Turn off the stove and allow every burner to cool completely. Remove detachable grates and burner caps if the manufacturer allows it, then wash them with warm, soapy water. Wipe the stovetop with a suitable cleaner. For glass cooktops, use a product and scraper approved for that surface. Dry all parts before reassembling.
7. Deep Clean the Microwave
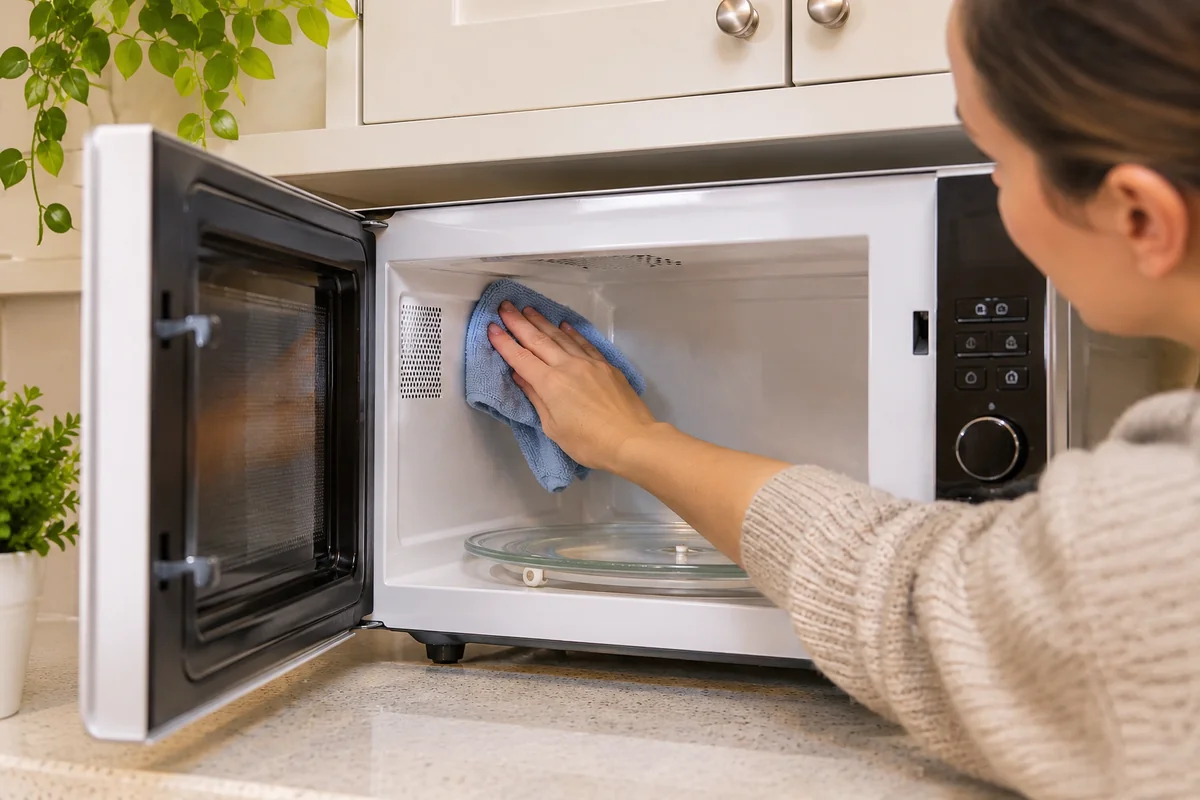
Remove the microwave turntable and wash it with warm, soapy water if its care instructions allow. Wipe the interior ceiling, walls, floor, and door to remove food splashes. Clean the exterior buttons and handle with a lightly damp cloth, keeping moisture away from openings. Dry the interior before replacing the turntable.
8. Clean the Dishwasher
Remove the bottom rack and inspect the dishwasher filter according to the appliance manual. Clear away trapped food particles and wash removable filter parts as directed. Wipe the door edges, seals, and detergent compartment with a suitable cloth. Run a dishwasher-cleaning cycle with an approved product if the manufacturer recommends it.
9. Clean Small Kitchen Appliances
Unplug small appliances before cleaning them. Remove crumbs from the toaster, wash detachable blender parts, and clean the exterior of the coffee maker. Follow each appliance’s instructions for descaling or internal cleaning. Never immerse an electrical base, motor, plug, or power cord in water.
10. Clean Kitchen Countertops and Backsplash
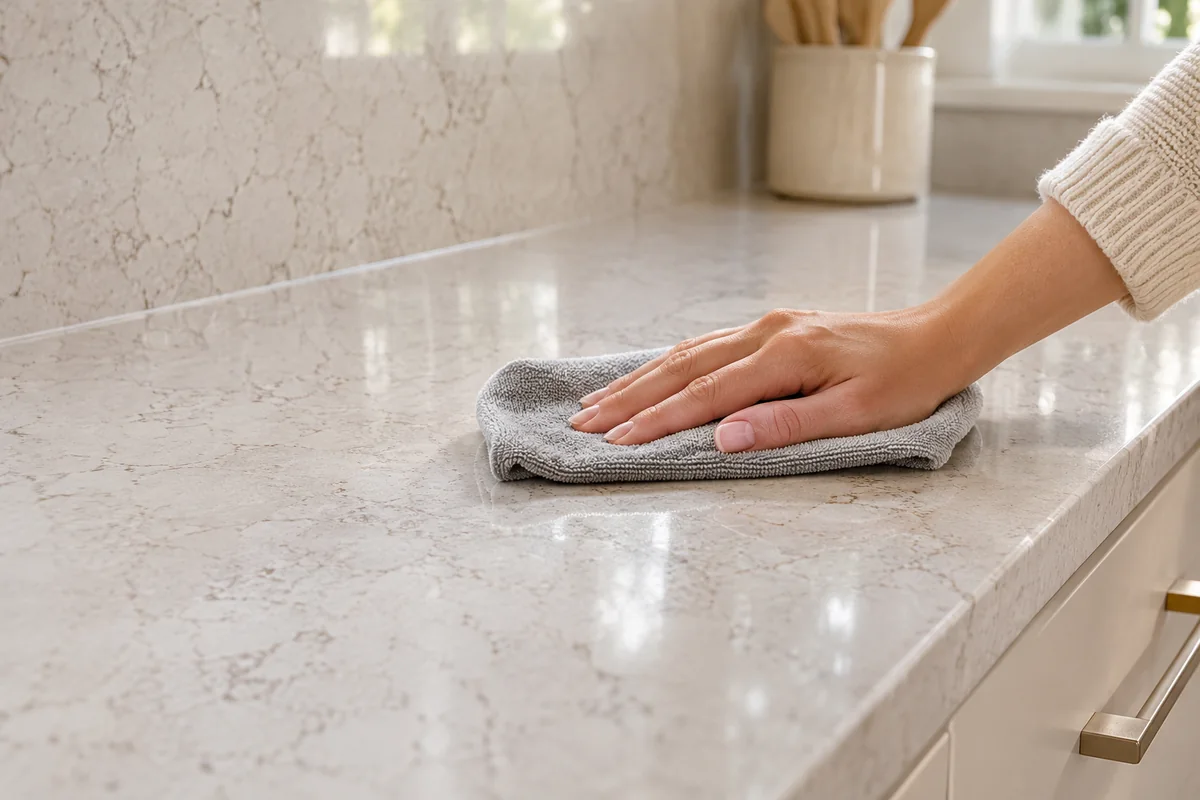
Remove crumbs and loose debris before wiping the countertops and backsplash with a cleaner suitable for the material. Use a non-abrasive cloth and pay attention to seams, corners, and areas behind small appliances. Avoid acidic cleaners on natural stone unless the surface manufacturer confirms they are safe.
11. Deep Clean the Kitchen Sink and Faucet
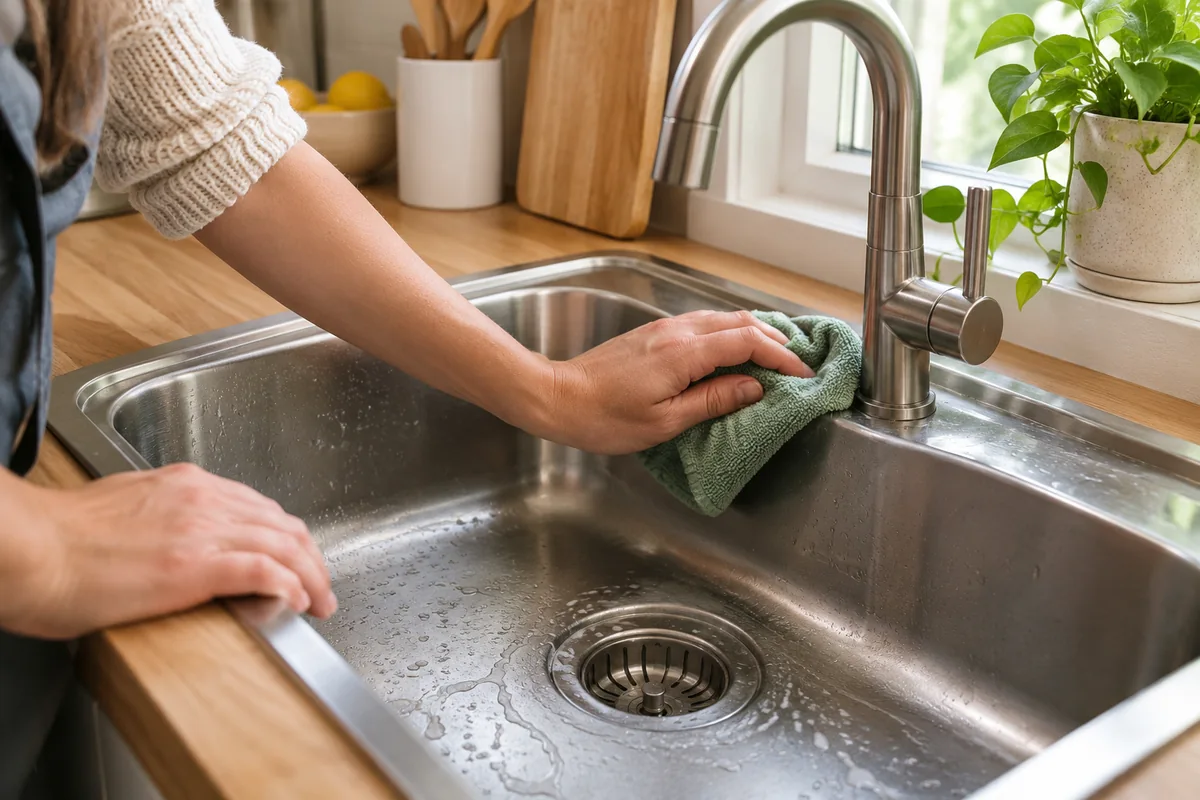
Remove food scraps from the sink and clean the basin with dish soap or a suitable sink cleaner. Scrub around the drain, faucet base, and handles, where residue can collect. Rinse thoroughly and dry the surface. Clean the faucet aerator only if the manufacturer’s instructions allow you to remove it safely.
12. Wash Kitchen Utensils, Pots, Pans, and Knives
Wash utensils, cookware, and knives using the correct method for each material. Remove stuck-on food with a suitable soaking or cleaning method rather than using excessive force. Dry items completely before storing them. Keep sharp knives separate during washing and storage to reduce the risk of cuts.
13. Clean Kitchen Walls, Doors, and Switches
Wipe washable walls, cabinet-side panels, and doors to remove fingerprints, splashes, and cooking residue. Use a cleaner suitable for the paint or finish, and test it on a hidden area first. Clean switch plates with a lightly damp cloth while avoiding liquid inside switches or electrical outlets.
14. Vacuum and Mop Kitchen Floors
Vacuum or sweep the floor to remove crumbs, dust, and loose debris. Move lightweight items when possible so you can reach underneath them and along the edges of cabinets. Mop with a floor cleaner suitable for the material. Avoid excess water on wood, laminate, or other moisture-sensitive flooring.
How to Remove Grease from Kitchen Surfaces
Kitchen grease often builds up on cabinet doors, stovetops, range hoods, and backsplashes. Mix a small amount of dish soap with warm water and wipe washable surfaces using a soft cloth. For stubborn residue, use a compatible degreaser according to its label. Rinse when required and dry the surface thoroughly.
Do not use abrasive pads or strong chemicals on delicate finishes. Natural stone, painted cabinets, and glass cooktops may need specific cleaning products. Test any unfamiliar cleaner in a hidden spot first. Never mix bleach with ammonia, acids, or other cleaning products because dangerous gases can form.
How to Disinfect Kitchen Surfaces Safely
Clean visible dirt and food residue before disinfecting a surface. Disinfectants work according to their label directions, which may specify a particular application method and contact time. Use only products approved for the surface, and keep the kitchen ventilated while cleaning. Never apply a disinfectant to food, dishes, or utensils unless its label specifically permits that use.
Food preparation surfaces and frequently touched areas may need different cleaning steps. Wash countertops and cutting boards after food preparation, especially after handling raw meat, poultry, seafood, or eggs. Follow public health guidance and product labels when sanitizing food-contact surfaces. Keep cleaning chemicals away from food, children, and pets, and never mix different products.
Kitchen Deep Cleaning Checklist
Use this checklist to track the main tasks and avoid overlooking hidden areas. You do not need to complete every task in one session. Work through the list according to your kitchen’s condition, appliance requirements, and available time.
| Kitchen area | Deep-cleaning tasks |
|---|---|
| Upper surfaces | Dust ceilings, vents, light fixtures, and cabinet tops |
| Cabinets and drawers | Empty, wipe shelves, clean doors, and wash handles |
| Range hood | Clean exterior and approved removable filters |
| Refrigerator and freezer | Clean shelves, drawers, seals, and handles |
| Oven | Clean interior, racks, trays, and door |
| Stove and cooktop | Remove residue and clean approved detachable parts |
| Microwave | Clean interior, turntable, door, and exterior |
| Dishwasher | Clean filter, seals, and detergent compartment |
| Small appliances | Remove crumbs, clean detachable parts, and wipe exteriors |
| Countertops and backsplash | Remove crumbs, grease, and surface residue |
| Sink and faucet | Clean basin, drain area, faucet, and handles |
| Utensils and cookware | Wash, dry, and organize stored items |
| Walls and doors | Remove splashes, fingerprints, and marks |
| Floors | Vacuum or sweep, then mop |
How Long Does It Take to Deep Clean a Kitchen?
A deep clean can take several hours, depending on the kitchen’s size, condition, and number of appliances. A small, regularly maintained kitchen may need less time than a large kitchen with heavy grease, cluttered cabinets, or appliances that have not been cleaned for months.
| Cleaning task | Estimated time |
|---|---|
| Preparation and decluttering | 15–30 minutes |
| Dusting and upper surfaces | 10–20 minutes |
| Cabinets and drawers | 20–40 minutes |
| Appliances | 45–90 minutes |
| Countertops, backsplash, and sink | 20–30 minutes |
| Walls, doors, and switches | 10–20 minutes |
| Floors | 10–20 minutes |
These are planning estimates, not fixed cleaning times. Oven cleaning products may require additional waiting time, and some appliances need a full cleaning cycle. You can divide the work across two sessions if the kitchen needs extensive attention.
Common Kitchen Deep Cleaning Mistakes to Avoid
A few common mistakes can waste time or damage kitchen surfaces. Avoid these problems to make deep cleaning safer and more effective:
- Cleaning floors first: Dust and crumbs from cabinets and appliances can fall onto the floor. Clean floors last.
- Using the same cloth everywhere: A cloth used for the floor or sink should not be used on food preparation surfaces. Keep separate cloths for different areas.
- Using abrasive tools on delicate surfaces: Rough scrubbers can scratch glass, stainless steel, natural stone, and coated appliances. Choose tools according to the material.
- Mixing cleaning chemicals: Never combine bleach with ammonia, acids, or other cleaners. Follow product labels and use one product at a time.
- Ignoring appliance instructions: Filters, seals, cooktops, and oven interiors may need specific cleaning methods. Check the manual before using chemicals or removing parts.
- Leaving wet surfaces to air-dry when they need drying: Excess moisture can remain in cabinet corners, appliance seals, and other enclosed areas. Dry surfaces when the material or manufacturer requires it.
- Forgetting hidden areas: Cabinet tops, refrigerator seals, range hood filters, and dishwasher filters can collect residue even when visible surfaces look clean.
Frequently Asked Questions
What Is the Best Way to Deep Clean a Kitchen?
The best method is to work from top to bottom and clean one area at a time. Start with dust and cabinets, continue with appliances and work surfaces, and finish with the sink and floor. Use surface-appropriate products and follow appliance care instructions.
What Should You Clean First When Deep Cleaning a Kitchen?
Start by removing clutter, dirty dishes, and food waste. Then dust ceilings, light fixtures, vents, and upper cabinets. This order prevents dust and loose debris from falling onto countertops or floors that you have already cleaned.
How Often Should You Deep Clean Your Kitchen?
The ideal frequency depends on how often you cook, how many people use the kitchen, and how quickly grease or food residue builds up. Clean spills and food-contact surfaces regularly, maintain appliance filters as recommended, and schedule a full deep clean when buildup becomes noticeable.
Can You Deep Clean a Kitchen with Natural Products?
You can clean many kitchen surfaces with simple products such as dish soap and water, provided they are suitable for the material. However, natural does not automatically mean safe or effective. Avoid mixing ingredients, and use an approved disinfectant when disinfection is necessary.
What Is the Best Way to Remove Grease from Kitchen Cabinets?
For many washable cabinet finishes, warm water and a small amount of mild dish soap can loosen everyday grease. Wipe gently with a soft cloth, remove soap residue when required, and dry the surface. Check the cabinet manufacturer’s instructions before using a stronger degreaser.
Conclusion
Deep cleaning a kitchen becomes easier when you follow a clear order and use the right products for each surface. Start by removing clutter and dust, then clean cabinets, appliances, countertops, and the sink. Finish with walls and floors, paying attention to hidden areas such as filters, seals, handles, and corners.
Regular maintenance helps prevent heavy grease and food residue from building up again. Wipe spills promptly, clean frequently touched surfaces, and follow appliance care instructions. With a practical checklist and a consistent routine, you can keep your kitchen cleaner, more organized, and ready for everyday food preparation.