









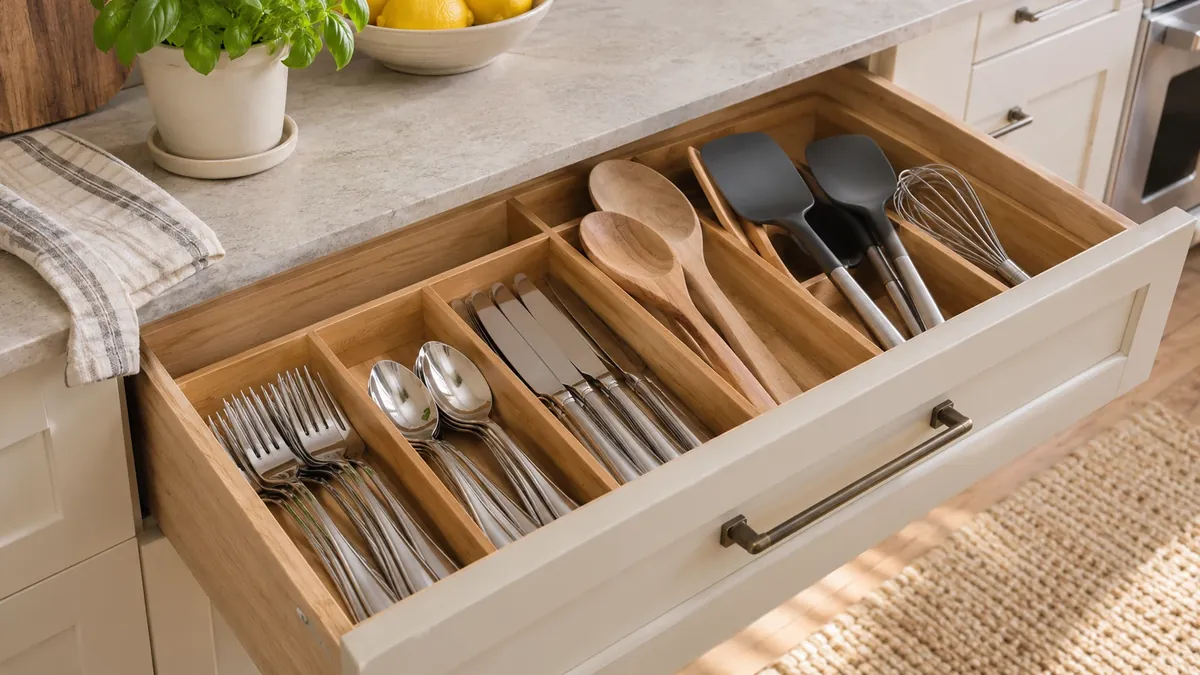
To organize kitchen drawers, empty one drawer at a time, get rid of duplicates and broken tools, group what’s left by task, and give each group a drawer close to where you use it. Then add drawer dividers or inserts so every item has one fixed spot. That’s the whole method in a nutshell.
Sounds simple, right? It is. But the details are what make it stick. Most people tidy their drawers on a Sunday, and by Wednesday the spatula is buried under takeaway menus again. Sound familiar?
The problem usually isn’t you. The problem is a drawer with no system. A drawer without dividers is like a car park without lines. Everyone parks wherever, and soon nobody can get out.
In this guide, I’ll walk you through the exact steps, show you which organizers work for which drawers, and share the habits that keep everything in place for months, not days. Let’s dig in.
Why Do Kitchen Drawers Get Messy So Fast?
Kitchen drawers get messy because items don’t have a “home.” When a whisk can go anywhere, it goes everywhere. You toss it in the nearest open drawer, and that drawer slowly turns into a mystery box.
Three things usually cause the chaos:
- No fixed spots. An open drawer with no dividers lets items slide, stack, and tangle every time you pull it open.
- Mixed categories. Batteries next to measuring spoons next to birthday candles. When one drawer holds five jobs, it does none of them well.
- Wrong placement. Your pot holders live across the kitchen from your hob. So you leave them on the counter, and clutter spreads.
Here’s the good news. Every one of these problems has a fix, and none of them need a kitchen remodel.
What Do You Need Before You Start?
You don’t need a cart full of fancy products. In fact, buying organizers first is one of the biggest mistakes people make (more on that later). Start with these basics:
- A tape measure to measure drawer width, depth, and height
- A bin bag and a donate box for stuff that’s leaving
- A damp cloth and mild soap to clean the drawers
- Drawer liners (non-slip or washable)
- Painter’s tape and a marker for temporary labels
- Drawer dividers or bins, but only after you measure
Give yourself about 20 to 30 minutes per drawer. Don’t try to do the whole kitchen in one go unless you really love a challenge.
How to Organize Kitchen Drawers in 7 Steps
This is the core process. Follow these steps in order, and your drawers will actually stay organized.
Step 1: Empty One Drawer at a Time
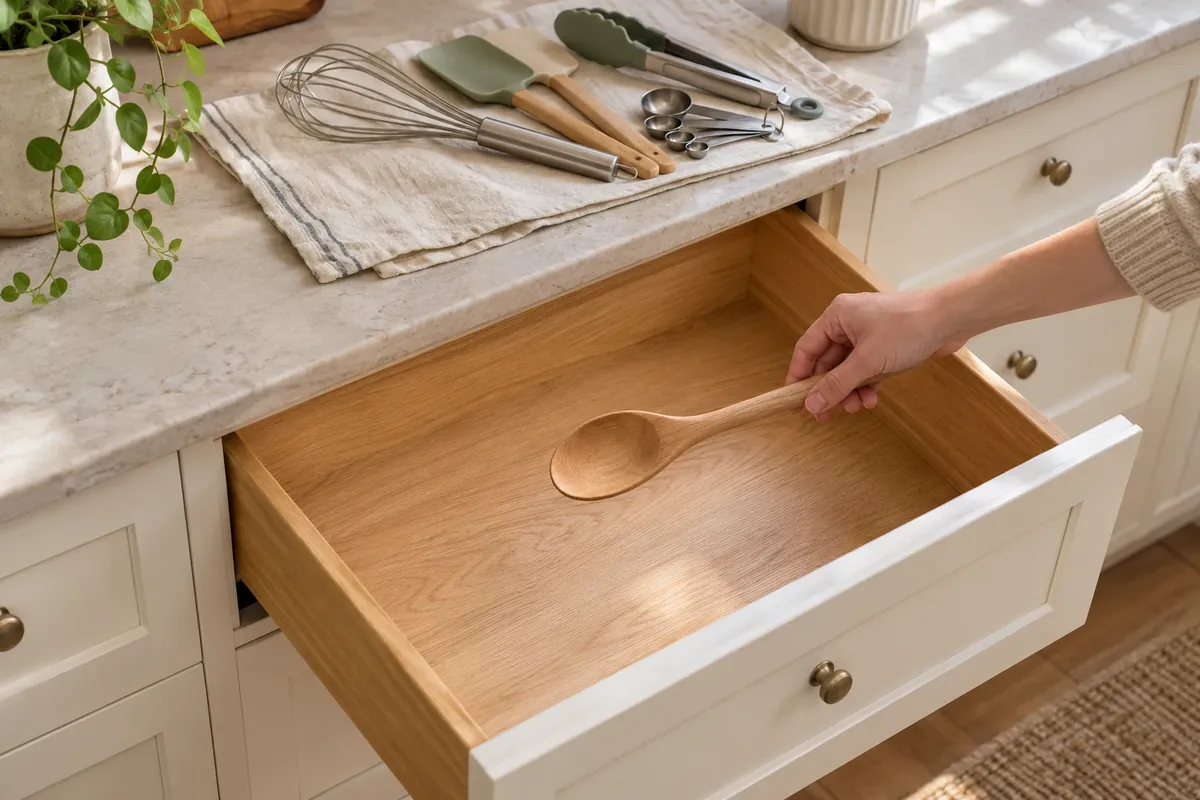
Pull everything out of one drawer and put it on the counter. Just one. Emptying every drawer at once turns your kitchen into a disaster zone, and you’ll quit halfway through.
Working one drawer at a time keeps the job small. Small jobs get finished. Finished jobs feel good. And that good feeling pushes you to do the next drawer.
Step 2: Declutter Duplicates and Broken Tools
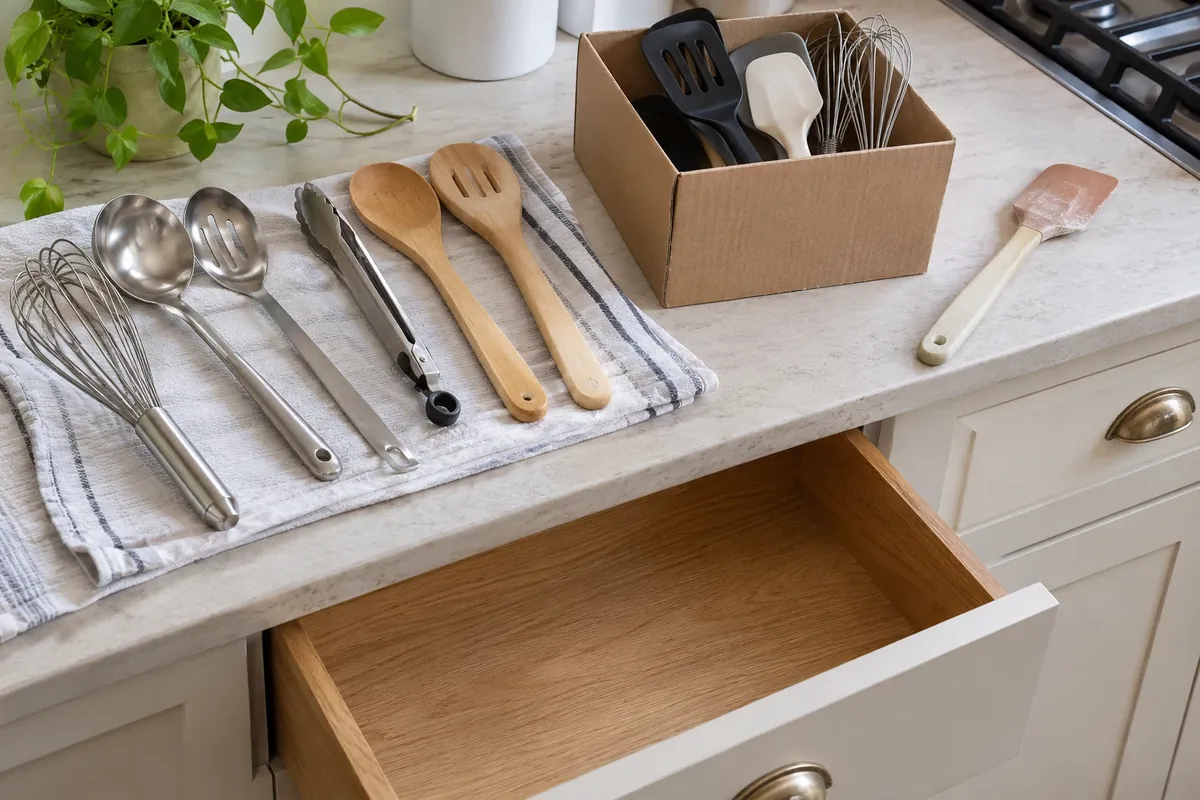
Now look at the pile honestly. Do you really need four can openers? Probably not. Most kitchens hide a surprising number of duplicates.
Sort everything into three groups:
- Keep: Things you’ve used in the last few months
- Donate: Working items you don’t use or have extras of
- Toss: Broken, rusted, melted, or missing-parts items
Be extra tough on plastic food containers without lids, dried-out pens, mystery keys, and soy sauce packets. Those items are the clutter kings of every kitchen drawer.
Step 3: Clean and Line Every Drawer
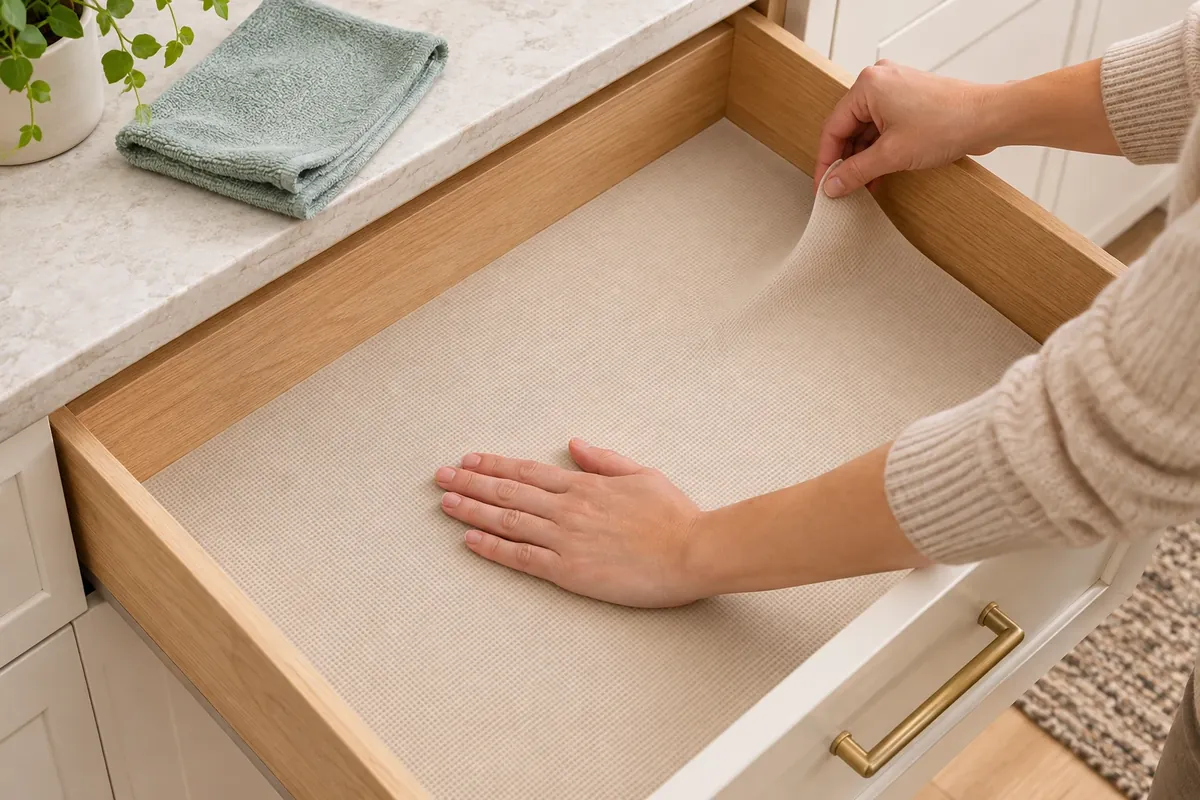
An empty drawer is the perfect time to wipe out crumbs, sticky spots, and that random grain of rice that’s been there since last year. Use a damp cloth and mild soap, then let the drawer dry fully.
Next, add a drawer liner. Non-slip liners stop dividers and tools from sliding when you open the drawer fast. Washable liners make future cleaning easier. Either way, a liner protects the wood or laminate from scratches and spills.
Step 4: Group Items by Task
This step is where the magic happens. Group items by what they do, not by what they look like.
For example:
- Prep tools: peelers, measuring cups, measuring spoons, can opener
- Cooking tools: spatulas, tongs, ladles, wooden spoons
- Baking tools: rolling pin, pastry brush, cookie cutters, piping tips
- Serving tools: salad servers, pie server, cake knife
Grouping by task means you grab one drawer and get everything you need for one job. Think of it like a toolbox. A mechanic doesn’t keep spanners in five different boxes.
Step 5: Match Each Drawer to a Work Zone
Now place each group near where you use it. Professional kitchen designers call these work zones, and they make a huge difference.
Here’s how it usually breaks down:
- Cooking zone (near the hob): cooking utensils, pot holders, spices, pots and pans
- Prep zone (near the main worktop space): knives, cutting tools, measuring tools, mixing bowls
- Cleaning zone (near the sink): tea towels, sponges, bin bags
- Serving zone (near the dining area or dishwasher): cutlery, serving spoons, napkins
- Storage zone (near the fridge): food storage containers, foil, cling film, zip bags
When tools live next to the job, you stop walking back and forth. Cooking gets faster, and items naturally get put back where they belong.
Step 6: Measure, Then Add Drawer Dividers
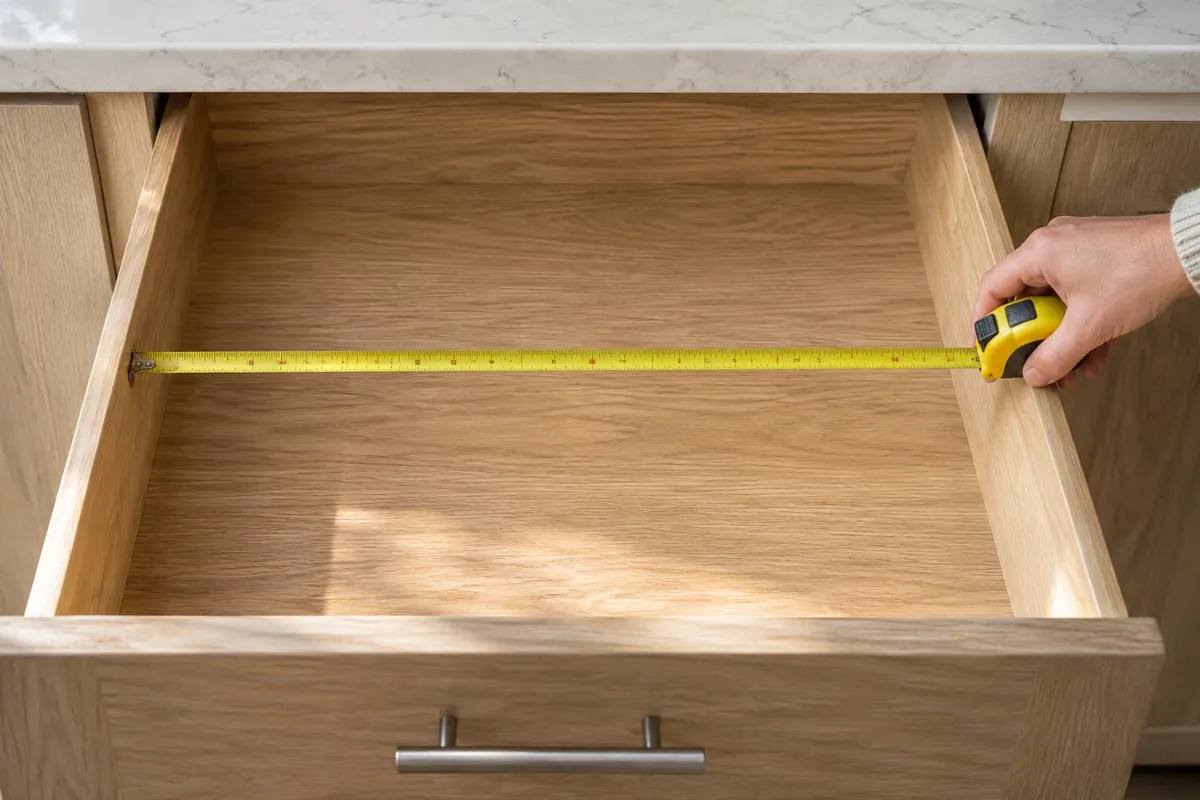
Only now should you shop for organizers. Measure the inside of each drawer: width, depth, and height. Write the numbers on painter’s tape and stick it inside the drawer.
Then pick dividers that fit. Adjustable drawer dividers are great for long utensils. Modular bins let you build a custom layout like LEGO bricks. Expandable bamboo trays fit drawers of different widths.
Leave a little wiggle room. A drawer packed 100% full is just as frustrating as a messy one because you can’t pull anything out without a fight.
Step 7: Put Daily Items Up Front
Last step: arrange items by how often you use them. Daily tools go in the front of the drawer. Weekly tools go in the middle. Rarely used tools go in the back.
This front-to-back rule saves you from digging every single morning. Your favourite spatula should be the first thing your hand touches, not the last.
Which Kitchen Drawer Organizer Should You Use?
Picking the right organizer depends on the drawer and what goes in it. Here’s a quick comparison to help you choose.
| Organizer Type | Best For | Main Benefit | Watch Out For |
|---|---|---|---|
| Cutlery tray | Forks, knives, spoons | Keeps everyday utensils sorted | Fixed sizes may not fit every drawer |
| Expandable bamboo tray | Utensil and tool drawers | Adjusts to drawer width | Bamboo needs to stay dry |
| Adjustable spring dividers | Long tools, deep drawers | Creates custom lanes | Can slip without a non-slip liner |
| Modular plastic bins | Junk drawer, gadgets, baking tools | Mix-and-match layouts | Cheap bins can crack |
| In-drawer knife block | Chef’s knives, paring knives | Protects blades and fingers | Must match drawer depth |
| Tiered spice insert | Spice jars | Every label is visible at once | Needs a shallow drawer |
| Pegboard drawer system | Deep drawers with plates or pots | Pegs move to fit any item | Higher upfront cost |
| Vertical lid organizer | Pot and pan lids | Lids stand up instead of stacking | Takes some drawer width |
If you only buy one thing, buy adjustable dividers. They work in almost any drawer and grow with your needs.
How to Organize Each Type of Kitchen Drawer
Every drawer has its own job, so every drawer needs its own setup. Here’s how to handle the most common ones.
Utensil Drawer
The utensil drawer holds your everyday forks, spoons, and knives. A cutlery tray is the classic choice, and it works well. Place it near the dishwasher if you can, so unloading takes seconds.
Want a pro tip? Store teaspoons and forks closest to you, since those get used the most. Steak knives and serving spoons can sit in the back slots.
Cooking Tools Drawer
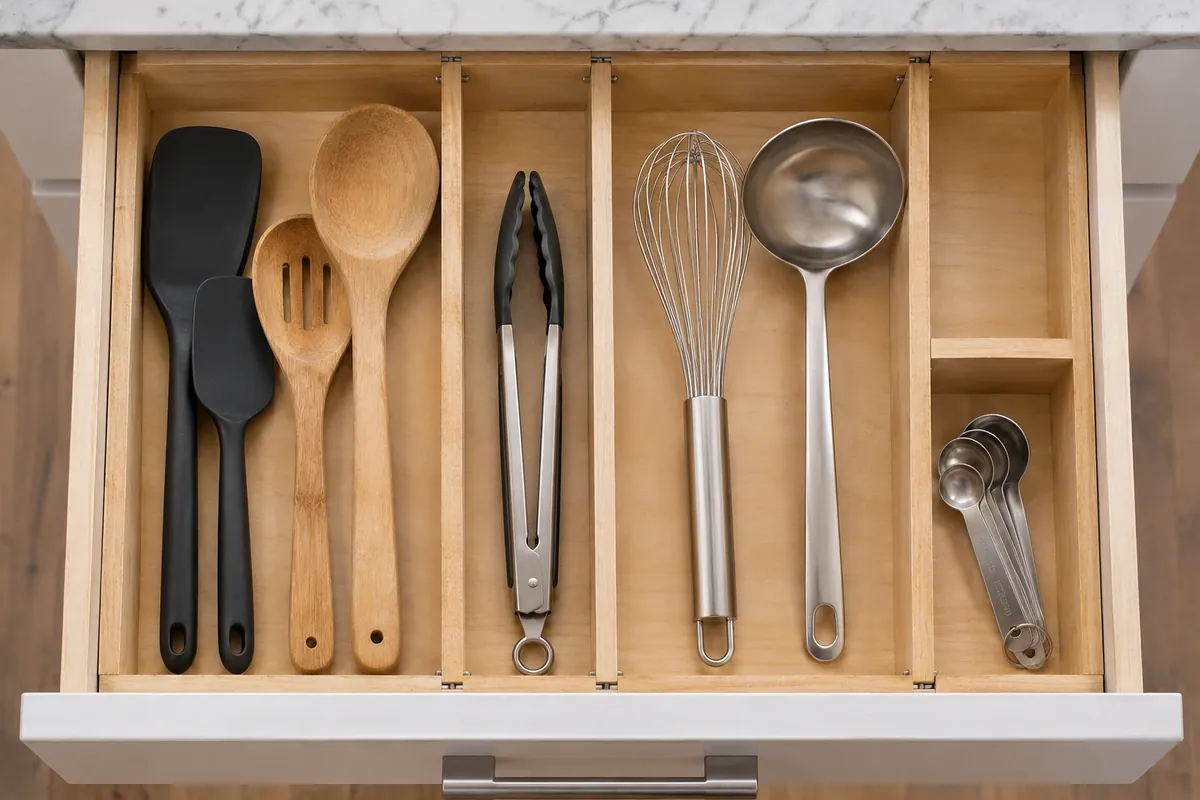
Spatulas, tongs, ladles, and whisks are long and awkward. They roll around and tangle like headphones in a pocket. Long, adjustable dividers fix this by giving each tool its own lane.
Put this drawer right next to your hob. If your cooking tools drawer is full, move some tools into a utensil crock on the counter. Your most-used three or four tools are perfect for a crock.
Knife Drawer
Loose knives in a drawer are dangerous. They dull each other, and they cut fingers. An in-drawer knife block holds each blade in a slanted slot so the edges never touch.
Keep the knife drawer in your prep zone, near your chopping board. If you have kids at home, a drawer with a child safety latch adds an extra layer of protection.
Spice Drawer
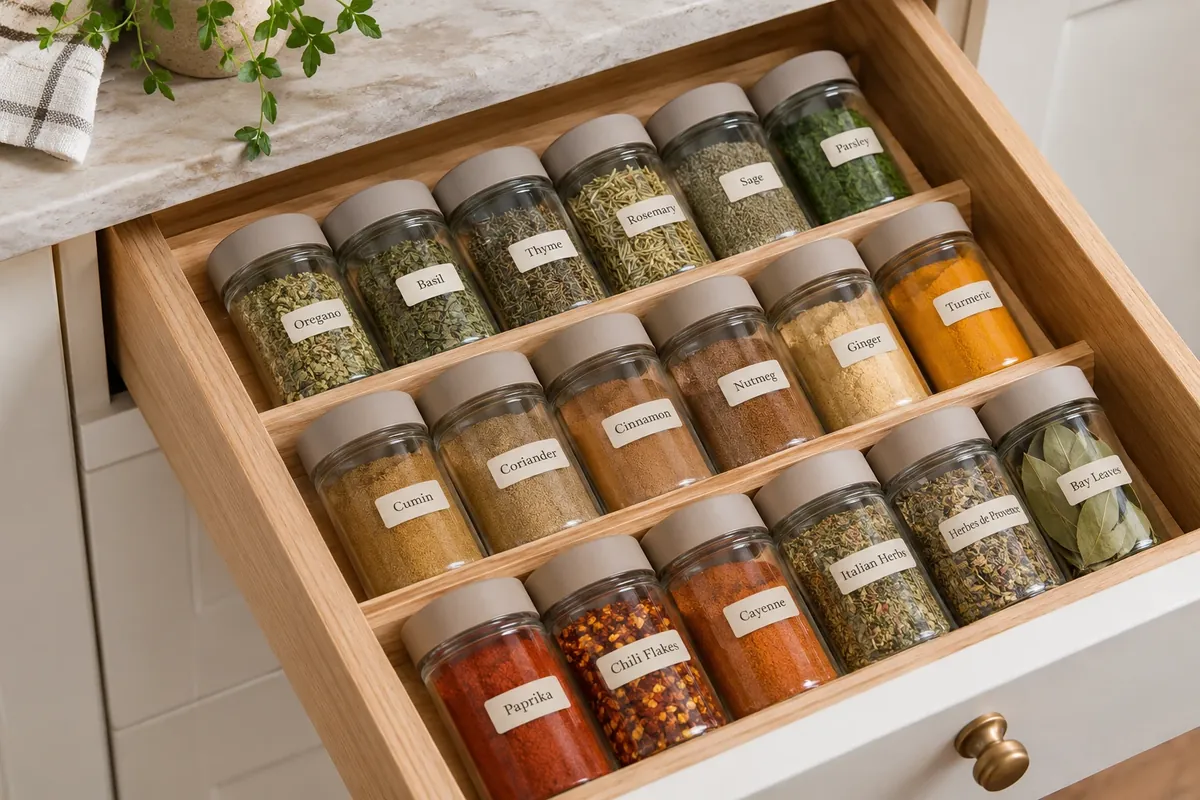
A spice drawer can beat a spice cupboard any day. Why? Because you look down at the labels instead of squinting at the back of a shelf.
Use a tiered spice insert so jars lie at an angle. Label the lids too, so you can read them from above. Sort spices alphabetically or by cuisine, whichever way your brain works best. Keep the drawer close to the hob, but not directly above or next to the oven, since heat weakens spice flavour over time.
Deep Drawers for Pots, Pans, and Lids
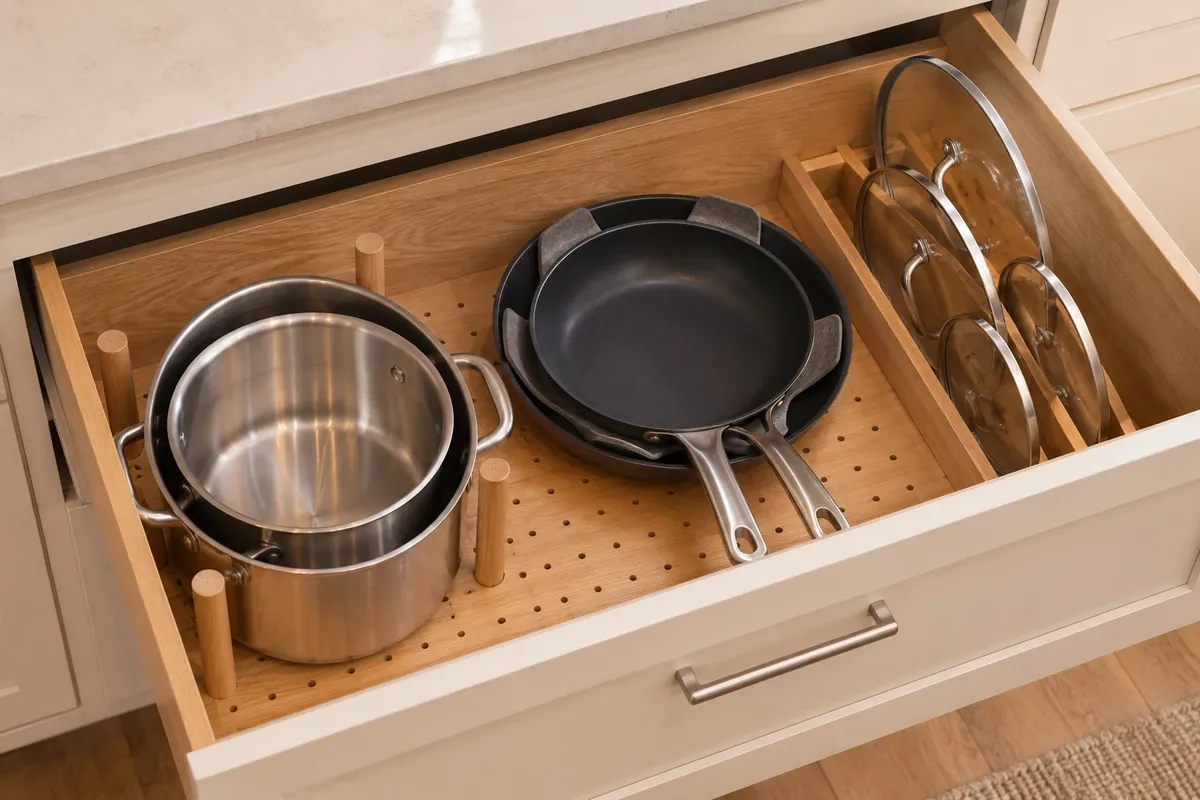
Deep drawers are the best place for heavy cookware. Pulling a drawer out is way easier than kneeling down and reaching into the back of a low cupboard.
A pegboard drawer system keeps pots from sliding around. Store pans upright like files in a folder, or nest them by size. Lids are the troublemakers here. A vertical lid organizer stands lids on their edges, so you can see and grab the right one without a clatter.
Food Storage Container Drawer
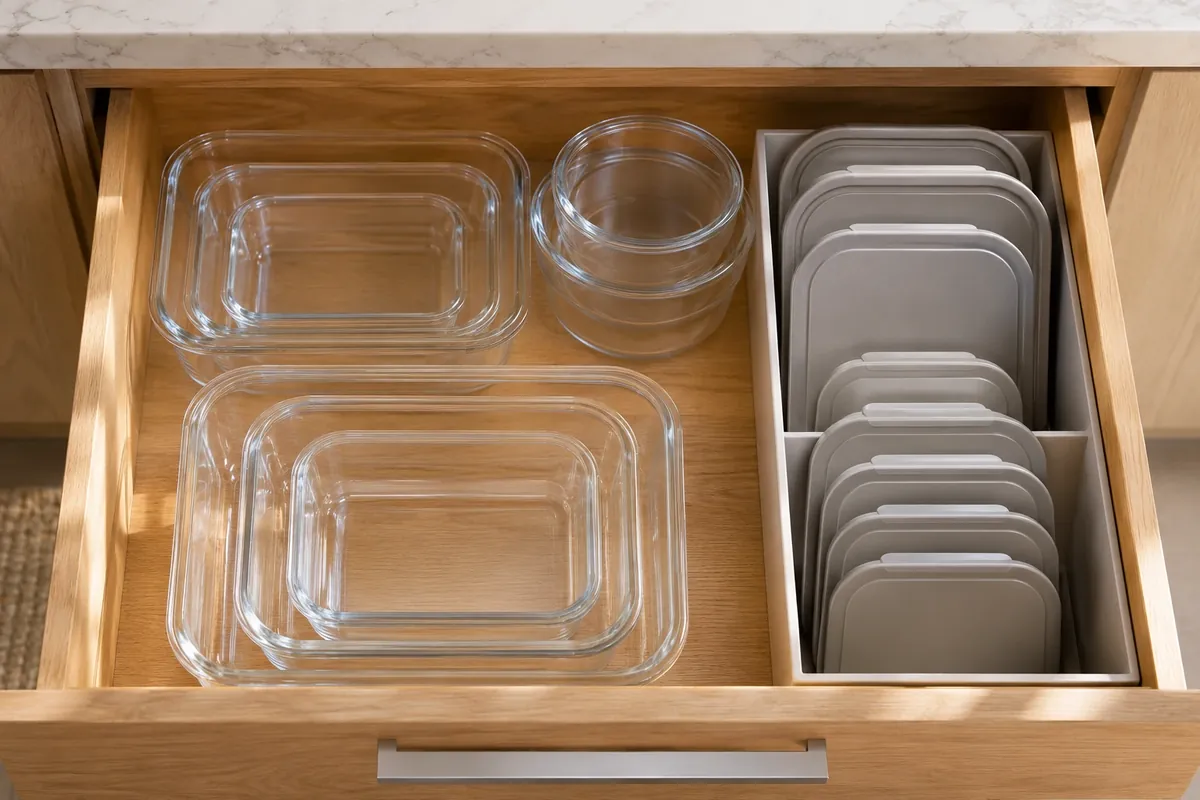
This drawer is often the messiest one in the house. The fix is simple: match every container with its lid and toss any container missing a partner.
Nest containers inside each other by size. Then store lids standing up in a divider or a small bin. Lids stored separately and upright take up far less space than lids snapped onto containers.
Wrap and Bag Drawer
Foil, cling film, baking paper, and zip bags all fit nicely in one shallow drawer. Lay rolls side by side with dividers between them. Zip bag boxes can sit upright in the back.
Keep this drawer near the fridge so wrapping leftovers is a one-step job.
Junk Drawer
Yes, you’re allowed to have a junk drawer. Every home needs a spot for tape, scissors, batteries, rubber bands, and pens. The goal isn’t to kill the junk drawer. The goal is to tame it.
Use small modular bins and follow one rule: one category per bin. Batteries get a bin. Pens get a bin. Chargers get a bin. When a bin overflows, that’s your signal to declutter that one category.
How to Organize Kitchen Drawers in a Small Kitchen
Small kitchens have fewer drawers, so every drawer has to work harder. Here’s how to make that happen:
- Use stackable inserts. Two-tier drawer organizers double the space in deep drawers. The top tray holds small items, and the bottom holds bigger ones.
- Go vertical inside the drawer. Chopping boards, baking trays, and lids stand on their edges and take up less room.
- Move some tools out of drawers. Magnetic knife strips, wall rails with hooks, and a counter utensil crock free up drawer space fast.
- Choose multi-use tools. One good chef’s knife replaces three random ones. Collapsible measuring cups and nesting bowls shrink down small.
- Use a rolling trolley if you need an extra “drawer” on wheels.
In a small kitchen, flexibility beats size. A smart drawer layout can feel bigger than a messy drawer twice its size.
Cheap DIY Drawer Organizer Ideas
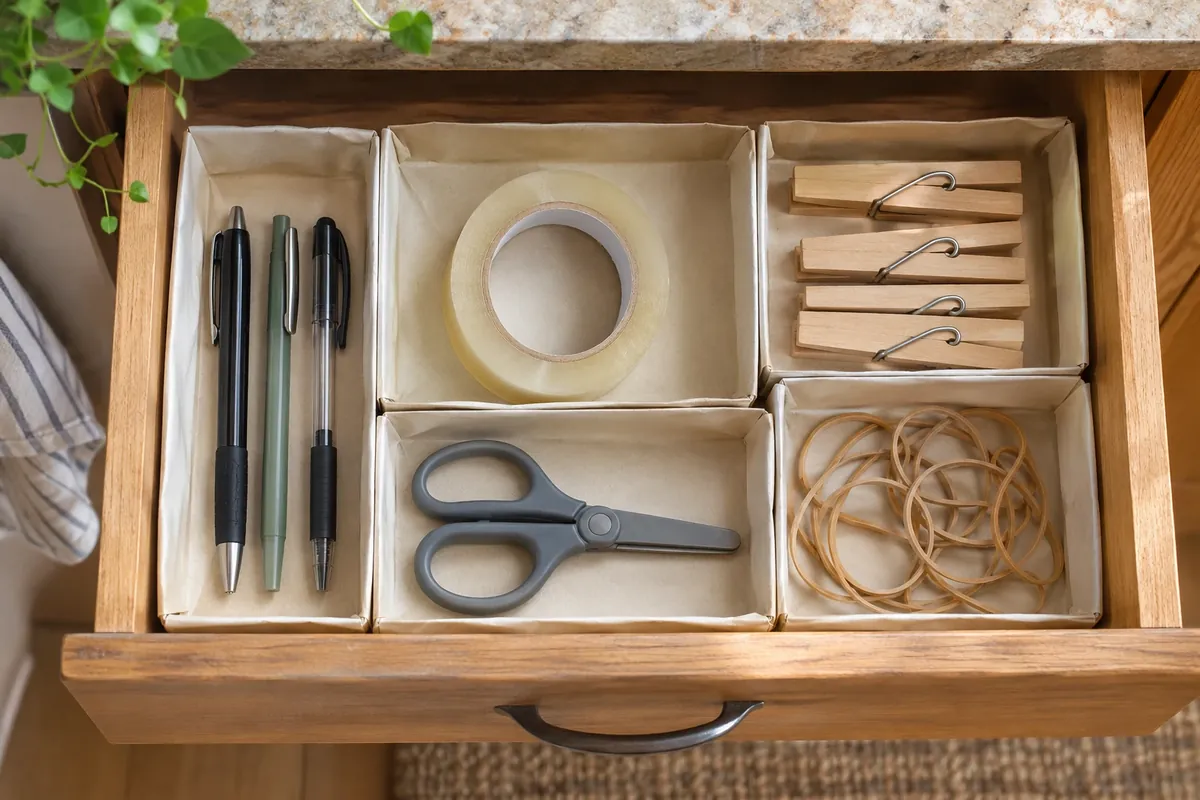
You don’t need to spend much to get a great result. Some of the best drawer organizers are already in your house:
- Shoeboxes and their lids make perfect dividers for wider drawers.
- Cereal boxes, cut down and covered with sticky-back plastic, become custom bins.
- Ice cube trays hold tiny things like twist ties, drawing pins, and birthday candles.
- Mason jars hold pens, chopsticks, or small spatulas upright.
- Muffin tins sort small baking tools like piping tips.
- Thin wooden strips from a DIY store can be cut to fit and glued in as permanent dividers.
Try a DIY version first. If the layout works for a few weeks, then you can upgrade to bamboo or acrylic organizers in the exact sizes you already tested.
Common Kitchen Drawer Mistakes to Avoid
Even a good system falls apart when these habits creep in:
- Buying organizers before decluttering. You end up organizing junk. Declutter first, buy second.
- Skipping measurements. A divider that’s a centimetre too wide is useless. Measure every time.
- Overfilling drawers. A packed drawer jams, and jammed drawers don’t get used.
- Storing by shape, not task. “All the long things” is not a category. “Cooking tools” is.
- Ignoring work zones. If your pot holders live far from the hob, they’ll end up on the counter.
- No non-slip liner. Without grip, dividers slide around and the system breaks within days.
Avoid these six, and you’re already ahead of most kitchens out there.
How Do You Keep Kitchen Drawers Organized?
Organizing is a one-time job. Staying organized is a habit. Here’s how to make the habit easy:
- Follow the “one in, one out” rule. Bought a new spatula? An old one leaves.
- Do a five-minute reset each week. Pick one drawer and put stray items back.
- Declutter every few months. Seasons change, cooking habits change, and drawers should change too.
- Label everything at first. Labels train everyone in the house, not just you. Once the habit sets in, you can remove them.
- Get the whole family on board. A system only works if everyone uses it. Show them where things go.
Think of drawer maintenance like brushing your teeth. Two minutes a day prevents a big problem later.
Conclusion
Learning how to organize kitchen drawers isn’t about buying the prettiest bins or copying a perfect photo. It’s about giving every item a home that makes sense for how you cook. Empty one drawer, declutter hard, group by task, match drawers to work zones, measure before you buy dividers, and keep daily tools up front.
Do that, and your drawers stop fighting you. Mornings get smoother. Cooking gets faster. And you’ll never again stand in front of an open drawer wondering where the can opener went.
So pick one drawer today. Just one. That’s how every organized kitchen starts.
If your kitchen simply doesn’t have enough drawers, Kitchen Studio can plan a new kitchen with deep pan drawers, cutlery inserts and spice drawers built in from the start.
Frequently Asked Questions
1. What is the best way to organize kitchen drawers?
The best way to organize kitchen drawers is to group items by task and store each group near where you use it. Cooking tools go by the hob, cutlery goes by the dishwasher, and wraps go by the fridge. Drawer dividers then hold each item in its own spot.
2. What should go in the top kitchen drawers?
Top kitchen drawers should hold the items you use every day, like cutlery, cooking utensils, knives, and spices. Shallow top drawers are easy to reach and see into, so they suit small, frequently used tools better than heavy cookware.
3. How do you organize deep kitchen drawers?
Deep kitchen drawers work best for pots, pans, lids, plates, and mixing bowls. Use a pegboard divider system to stop items from sliding, store pans upright or nested by size, and stand lids vertically in a lid organizer.
4. How do I organize kitchen drawers without spending money?
You can organize kitchen drawers for free by using shoeboxes, cut-down cereal boxes, mason jars, ice cube trays, and muffin tins as dividers. Declutter first, since removing extra items often frees up more space than any organizer can.
5. How often should I reorganize my kitchen drawers?
Most kitchens benefit from a quick five-minute reset each week and a full declutter every three to four months. A drawer that keeps getting messy usually means items are in the wrong work zone, so move them closer to where you actually use them.